

LoveMyPuppy sells washer-cleaner tablets. The drawer-cleaning steps below use appliance guidance; tablet cleaning is a separate task.
You rinse the drawer, push it back and notice the same sticky buildup a few washes later.
The underside of an insert or the recess behind the drawer may still need attention. Start there before reaching for another chemical.
First, identify the dispenser you have
| Dispenser type | What to check first |
|---|---|
| Basic removable drawer | The release tab and which inserts lift out |
| Automatic detergent reservoir | The model’s reservoir, valve and cleaning-mode instructions |
| Fixed top-loader compartment | Whether any component is designed to come out |
Do not assume a drawer is removable because another model’s is. Stop if you meet resistance without finding the documented release.
Samsung publishes separate manual- and auto-dispenser procedures. Use the procedure for the dispenser type fitted to your machine.
Find the care instructions for your exact model: Whirlpool manuals, LG manuals or Samsung manuals.
Enter the model number from the appliance label, then look under cleaning, maintenance or troubleshooting.
Clean a removable drawer in six steps
1. Finish the cycle and follow the power-off instructions
Empty the washer and follow the model’s directions before removing parts. Keep a towel nearby for drips.
2. Release the drawer without forcing it
Pull only as far as the instructions allow. Press or operate the documented release, then support the drawer as it comes out.
Do not twist the drawer or pull harder when it catches. Check the manual again.
3. Remove only the permitted inserts
Some softener caps and liquid-detergent guides lift out. Photograph their arrangement first if that will help you reassemble them.
Do not pry apart sealed components. Keep small pieces together where they cannot fall into a drain.
4. Rinse and brush away residue
Use warm running water and a soft brush on the removable parts, following the manual.
Work around corners and the underside of inserts. Rinse away loosened film rather than leaving it in another compartment.
Whirlpool specifies hand-washing removable dispenser parts. Do not put them in a dishwasher.
5. Clean the accessible recess
Use the manual-approved cloth or small soft brush inside the space where the drawer sits. Avoid spraying water toward controls.
Stay within the surfaces the instructions identify as accessible. Do not push a wire into pipes or dismantle the housing.
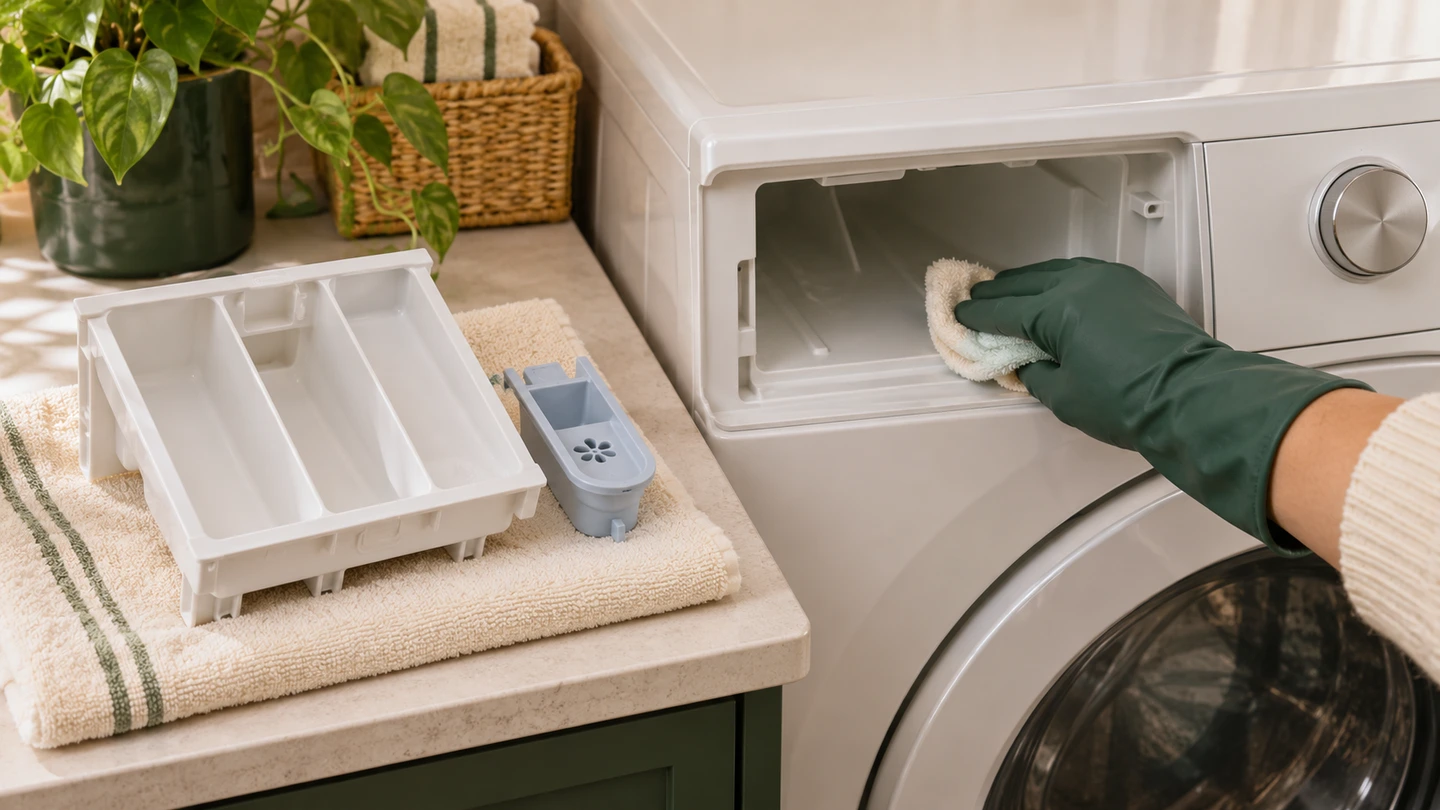
6. Reassemble and complete the prescribed finish
Seat every insert correctly, then slide the drawer back into place. Check that it closes normally.
Follow the model’s directions for any empty rinse. Samsung’s manual-dispenser guide includes a rinse to clear remaining detergent.
If the drawer keeps collecting residue, check these details
The detergent type and compartment
Confirm which compartment takes your detergent. Some models require a different insert arrangement for liquid and powder.
LG’s residue troubleshooting specifically covers detergent cups and correctly installed compartments.
The amount you add
Follow the detergent and washer instructions for the load. Keep additives below the relevant maximum line.
A full compartment is not automatically the correct dose. Concentrated products may require a different amount.
The parts you put back
A loose or misplaced insert can affect dispensing. Compare the arrangement with the manual before assuming the machine needs another cleaner.
Persistent water, leakage or failed dispensing
Record what remains and when it appears. Ask appliance support about repeated problems after correct cleaning and reassembly.
Do not alter water pressure or remove internal hoses based on a generic cleaning guide.
What changes with an automatic dispenser?
An automatic dispenser stores a larger quantity of detergent and meters it across washes. Its maintenance can differ from a basic drawer.
Find the instructions for emptying, rinsing and reinstalling that specific reservoir. Check whether the machine provides a dispenser-cleaning mode.
Do not add bleach, vinegar or a dissolved cleaning tablet to the reservoir as a shortcut.
If a valve or sealed component will not clean as instructed, contact the manufacturer. Forcing it may create a leak or dispensing problem.
Does the drum still need its own cleaning cycle?
Yes, follow the washer’s wider maintenance schedule. A clean drawer does not replace the prescribed empty-drum clean.
For that monthly step, LoveMyPuppy offers a 12-tablet box and a two-box option.
The product’s tablet goes into the empty drum, not the drawer. Confirm the current label and your model’s cycle instructions.
Use our washer-cleaning guide for the complete routine. If odor persists, start with the washer-smell guide.
Common questions
Can I put the detergent drawer in the dishwasher?
Do not assume it is dishwasher-safe. Whirlpool and LG instruct owners to hand-clean these removable parts.
How do I remove black buildup from the drawer?
Begin with the model’s approved cleaning method for the drawer and inserts. If residue persists, ask the manufacturer before using a stronger treatment.
Can I pour vinegar into the detergent dispenser to clean it?
Do not use it as a universal shortcut. Follow your model’s method, especially with automatic reservoirs. Never mix vinegar with bleach.
How often should I clean the drawer?
Follow the model’s instructions and clean visible buildup promptly. Whirlpool’s dispenser guidance suggests two to four weeks for frequent use.
Why is detergent still left after I cleaned it?
Check the detergent type, compartment, dose and insert placement. If the problem continues, use the manufacturer’s troubleshooting guidance.
Will a washer-cleaner tablet clean the drawer for me?
Do not rely on it for the drawer’s removable parts or recess. Follow the separate dispenser-cleaning steps.
Sources and product details
- Samsung manual and automatic dispenser instructions
- Whirlpool dispenser and recess cleaning
- LG detergent left in the dispenser
- LoveMyPuppy empty-drum instructions
- Whirlpool model manuals
- LG model manuals
- Samsung model manuals
Prepared from the linked product information and appliance instructions. Illustrations show the task; they are not cleaning-test results.
Product details and manufacturer guidance checked November 6, 2026. Formulas and directions can change; use the current label and your model’s manual.